Add a member
The easiest way to automatically add customers to your rewards program is to integrate Beans with your eCommerce platform, POS, or CMS. This ensures that customers are automatically enrolled through any platform you are currently using to manage your orders. However, there are instances where you may want to manually add a customer to the rewards program. This can be handy on specific occasions. Members added to the rewards program will receive the welcome email if you have set it up.- From the Beans admin dashboard, navigate to the Members page.
- From the top right, click on Add member.
- Enter the first name, last name and email of the member that you want to add to the rewards program.
- Click on Add member button to confirm.
Adjust a member’s balance
Beans features a powerful automated rules engine that allows you to automatically reward customers when they perform an action. Occasionally, you may want to manually credit or debit a customer’s Beans account.- From the Beans admin dashboard, navigate to the Members page.
- Find the member whose balance you want to adjust and open their profile.
- From the Edit dropdown menu on the top right, click on Adjust balance.
- In the Points field, enter a positive amount to give the customer extra points, or enter a negative amount to subtract points from the customer’s balance.
- In the Description field, enter a reason for the manual transaction. This description will be visible to the customer.
Update profile
Customers who join the rewards program can manage their own information. However, there are instances where customer information may become outdated, and the customer might forget to update it. In such cases, you can manually update the customer’s profile.- From the Beans admin dashboard, navigate to the Members page.
- Find the member whose information you want to update and open their profile.
- From the Edit dropdown menu on the top right, click on Update profile.
- Edit the customer’s information as needed.
- Click on Update profile to save the changes.
Update email addresses
Beans allows customers to receive points to the same account, regardless of which email they use at checkout. This is ideal for customers with multiple email addresses.- From the Beans admin dashboard, navigate to the Members page.
- Find the member whose information you want to update and open their profile.
- From the Edit dropdown menu on the top right, click on Email addresses.
- Click on Add new email address.
- Provide the new email address and click on save.
- Repeat the steps as many times as needed.
Deactivate a member
Deactivating a member is a reversible way to prevent a customer from benefiting from the rewards program. It effectively blacklists the member, stopping them from receiving emails, earning points, spending points, referring friends, and accessing their earned rewards. No data will be deleted, and you can reactivate the account later if needed. Even when a member is deactivated, their transaction history remains accessible. When a customer chooses to opt out of the rewards program or reports rewards program notifications as spam, their account is automatically deactivated.- From the Beans admin dashboard, navigate to the Members page.
- Find the member that you want to deactivate and open their profile.
- From the Edit dropdown menu on the top right, click on Deactivate account.
- Confirm the deactivation.
Reactivate a member
All members are active by default. You would only need to reactivate a member, if their account was previously deactivated.- From the Beans admin dashboard, navigate to the Members page.
- Search the member that you want to reactivate using their email address and open their profile.
- From the top right, click on Reactivate account.
Delete a member
Deleting a member is a radical solution that effectively erases all the customer data in the system including their transaction history. This action is irreversible. It is recommended to use the member deactivation option instead.- From the Beans admin dashboard, navigate to the Members page.
- Find the member that you want to deactivate and open their profile.
- From the Edit dropdown menu on the top right, click on Delete member.
- Confirm the deletion.
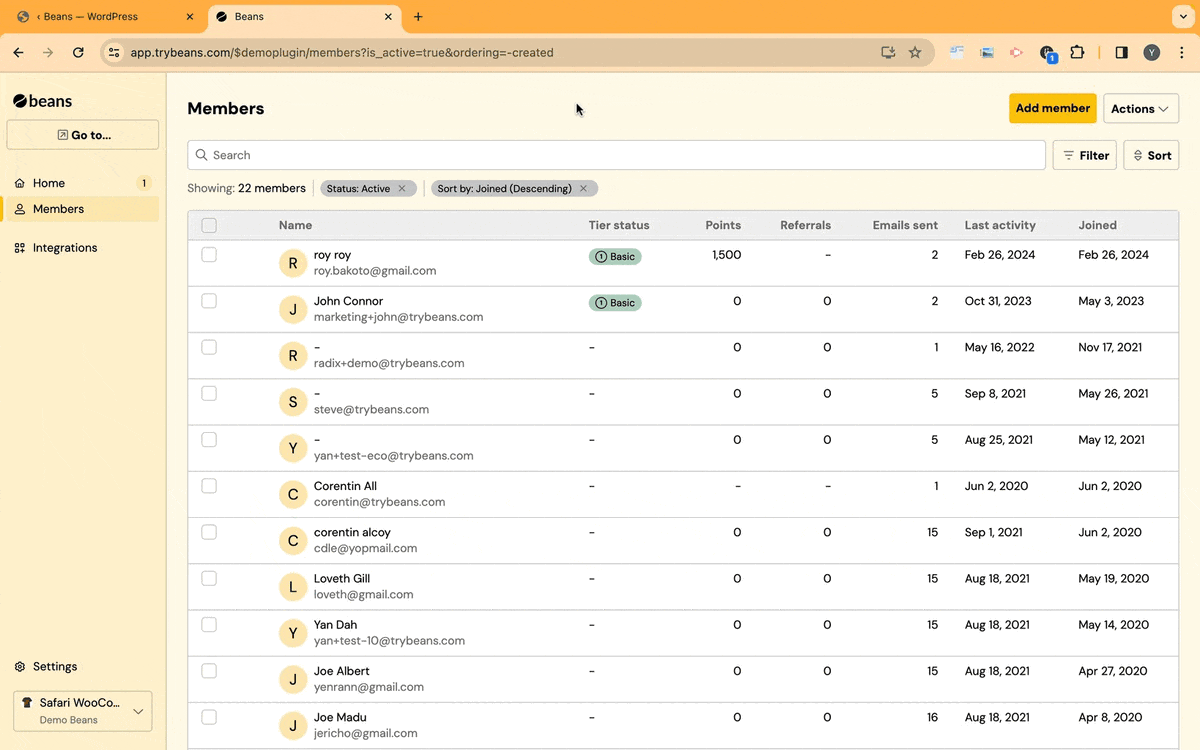
List, filter, and search members
To view all the members of your rewards program, navigate to the Members page from the Beans admin dashboard. Filter Members: Use the filter option on the top right to filter the list of members by activation status and points value. Search Members: Use the search bar at the top to find a specific customer by id, name, email address, or phone number.Perform bulk actions
Bulk actions are a productivity shortcut that allows you to edit multiple customer accounts simultaneously. Supported bulk actions include deactivating members, reactivating members, and deleting members.- From the Beans admin go to the Members page.
- Using the checkboxes on the left end of the member listing, select the members you want to perform the action on.
- Select the desired action from the available options.
- Confirm the action.
Import members
Beans offers a simple way to import data in bulk using a comma-separated values (CSV) formatted file. This is handy if you are migrating from a third-party solution to Beans or if you want to bulk adjust a large number of customers’ balances. Using a spreadsheet software such as Microsoft Excel or Google Sheets, ensure your CSV file includes the following headers in the first row:- email (required): The email address of the user to import .
- first_name (optional): The first name or given name of the user to import.
- last_name (optional): The last name or family name of the user to import.
- points (required): The amount of points that the user should have after the import. If the user already exists and has fewer points, they will be credited with the difference so that the total points after the import matches the amount provided in the CSV. If the user has more points, there will be no change to their balance after the import.
Here is a
sample CSV file
that you can download for reference.
- From the Beans admin dashboard, navigate to the Members page.
- Click on Actions > Import Members in the top right corner.
- Follow the steps and upload the CSV file
- Ensure that the fields from your CSV file are correctly mapped to the corresponding Beans fields.
- Once all fields are mapped correctly, click on the “Start import” button to begin the import process.