WooCommerce is an open-source e-commerce platform designed to provide merchants
with the tools they need to sell products online effectively.
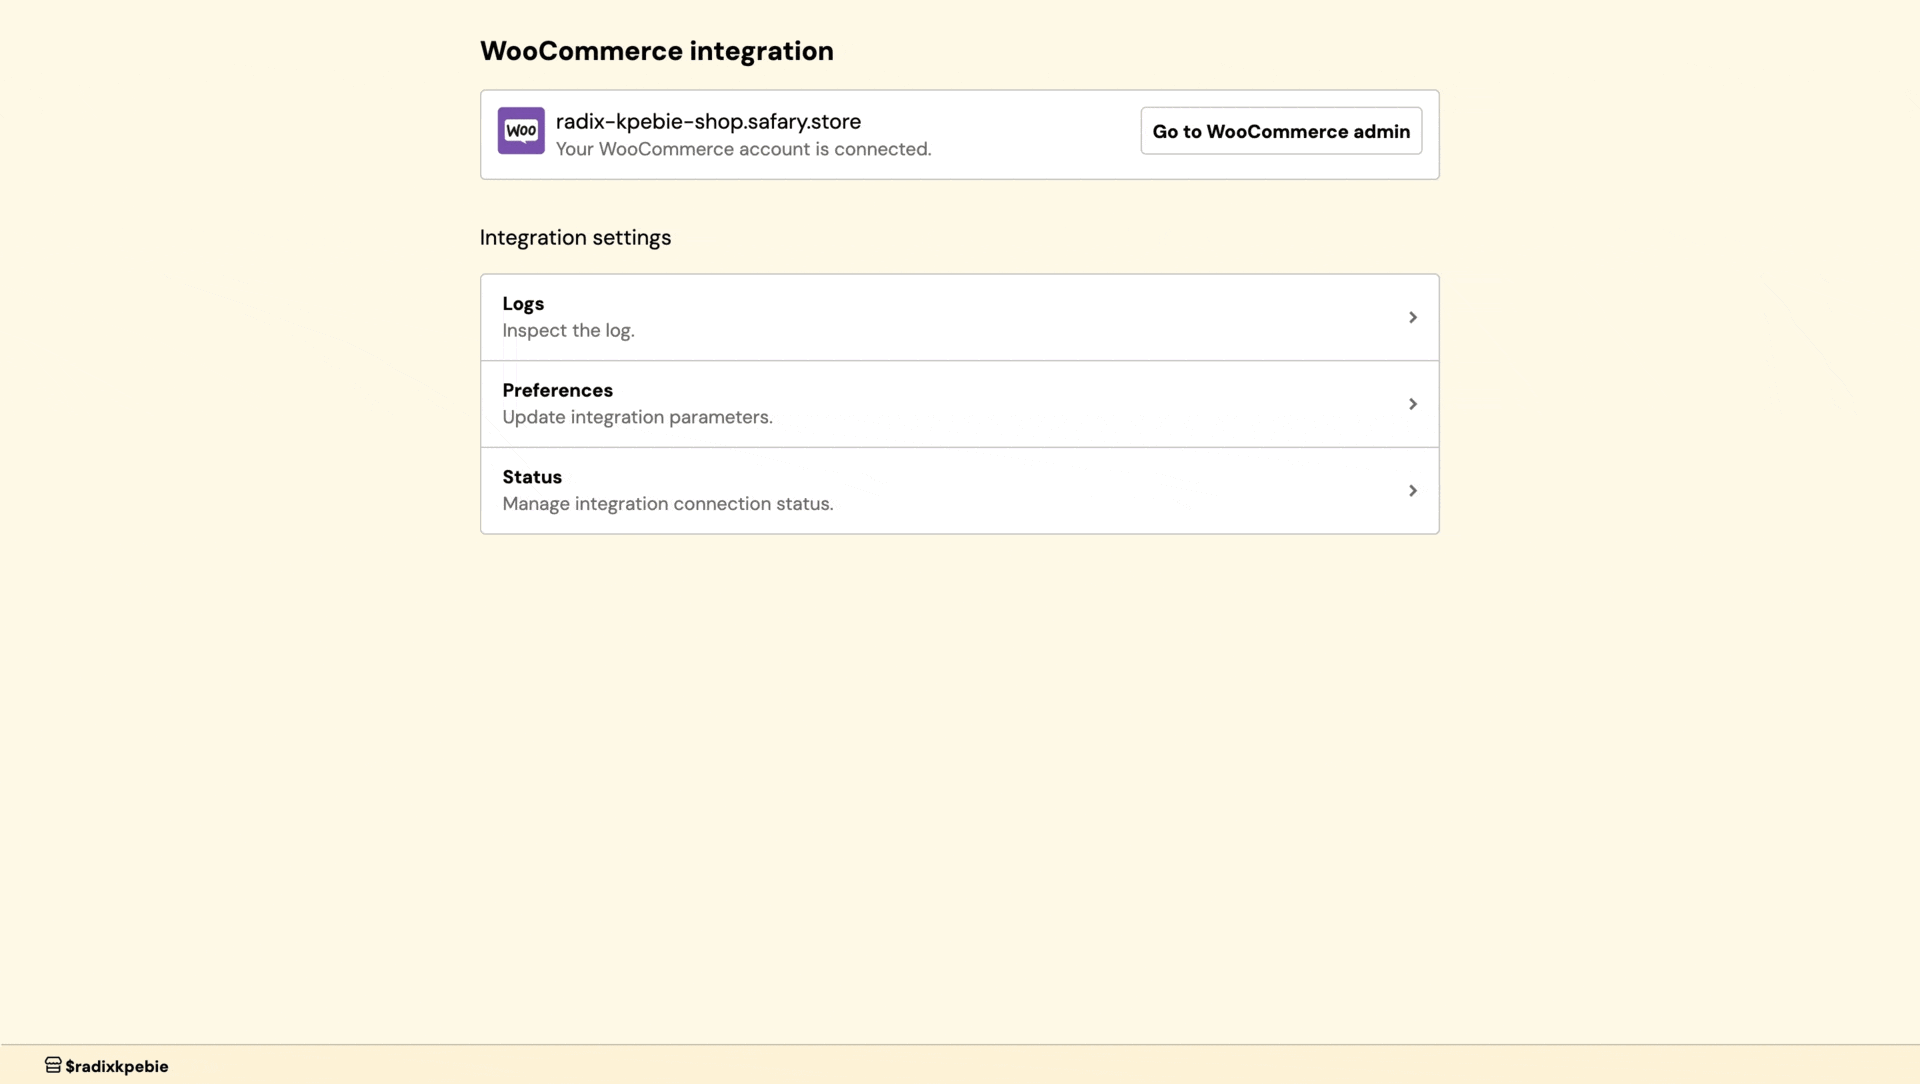
Integrating Beans with WooCommerce
enhances this experience by enabling merchants
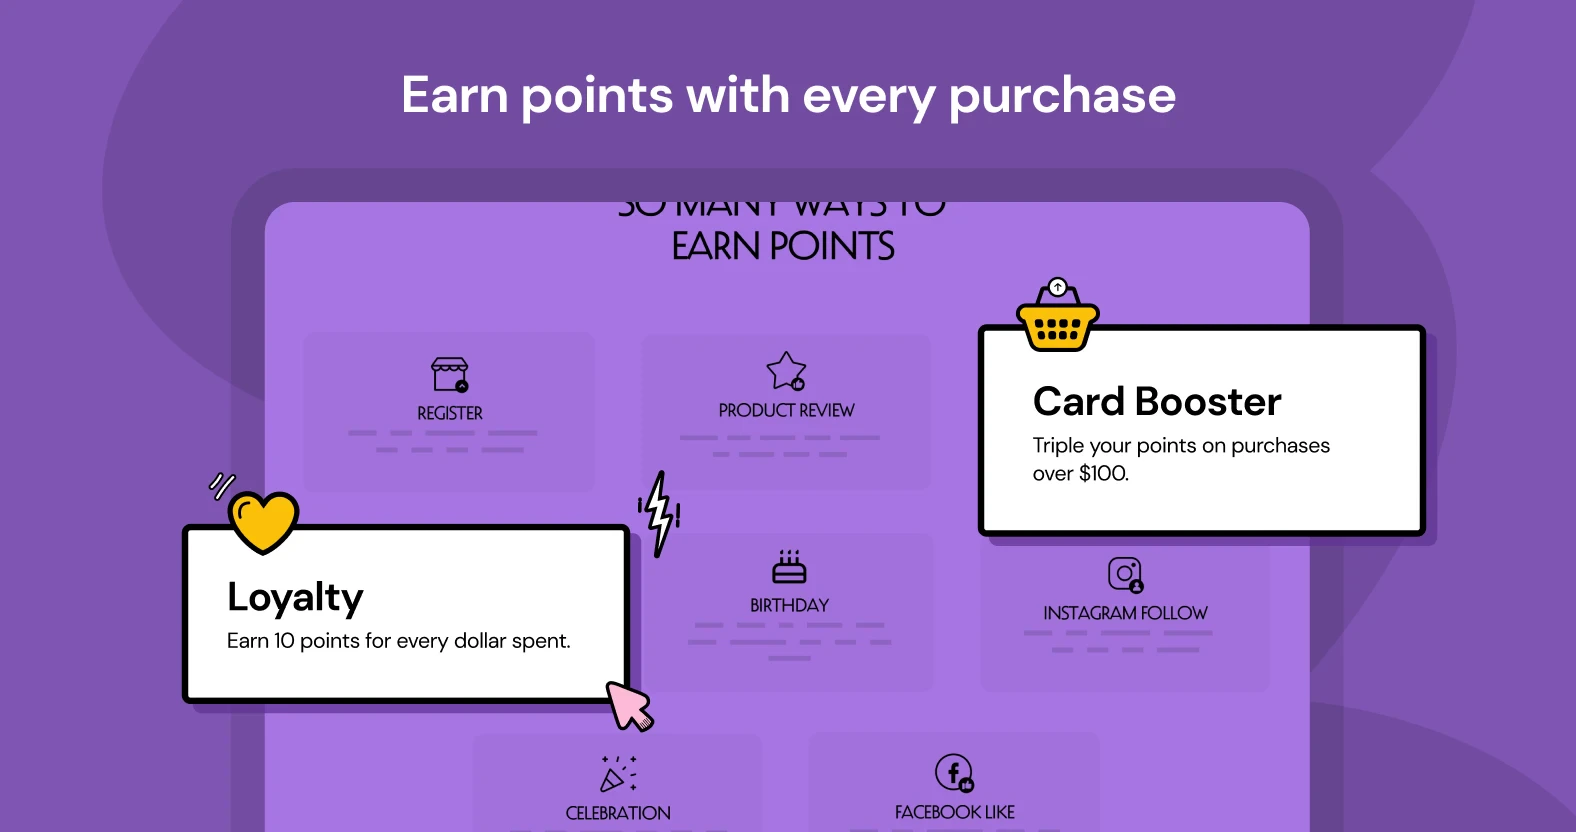
to boost customer loyalty through a rewards system. With Beans for WooCommerce,
you can reward customers for their purchases,
encouraging repeat business and fostering a loyal customer base.
Setup
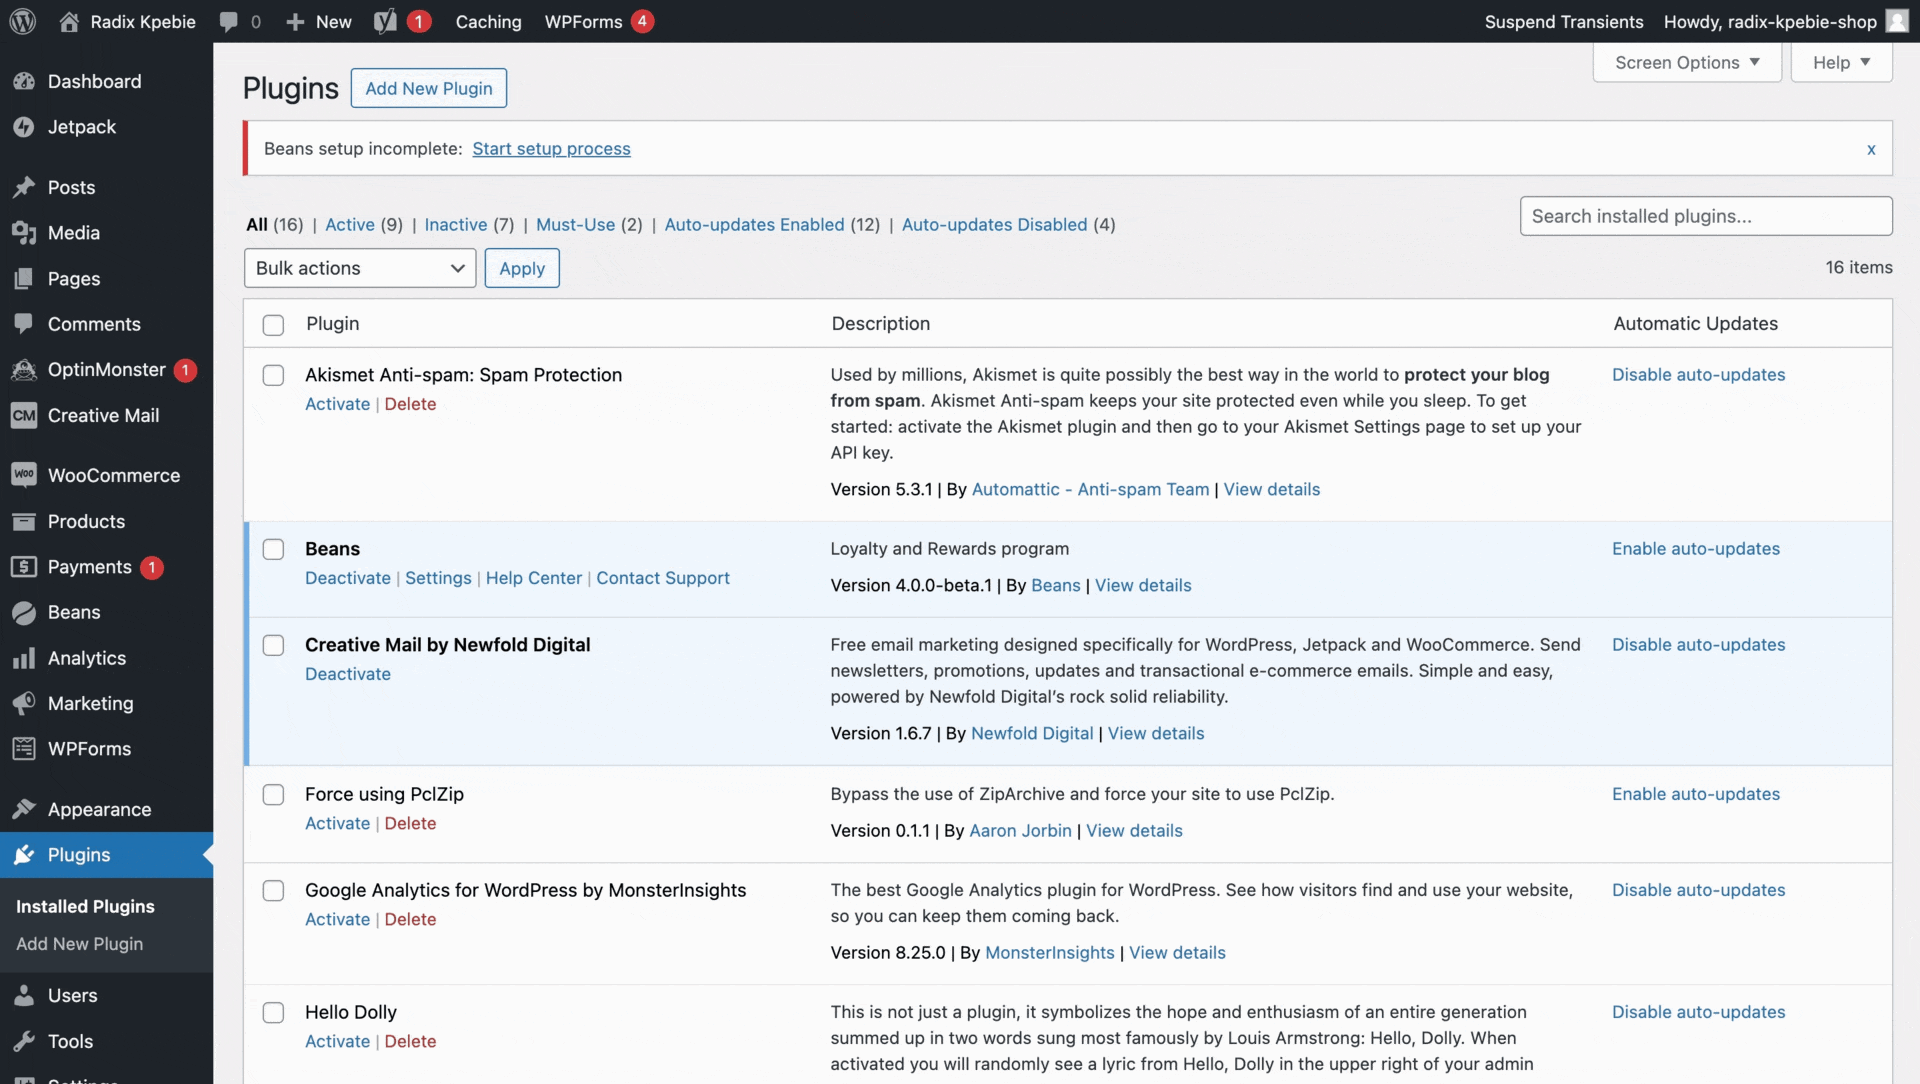
To begin, install the Beans plugin for WooCommerce
from the WordPress plugin repository. Follow the
WordPress guideline for plugin installation.
After installation, activate the plugin and connect Beans to your shop using the setup instructions.
To manually connect Beans to your WooCommerce store, follow these steps:
- Navigate to the plugins management page in your WordPress admin.
- Find Beans and select settings.
- On the Beans admin page within WordPress, follow the prompts and click Connect.
- Select your Beans account or create a new one. If you already have one, log in.
- Once on the connect page, choose Connect manually.
- Provide WooCommerce API keys as instructed.
- In WordPress admin, go to WooCommerce > Settings > Advanced > REST API.
- Select Add key to create a new key for Beans.
- Fill out the form: name the key, choose the primary admin as the user, and set permissions to Read/Write.
- Generate and copy the API Key.
- Paste the keys into the Beans interface form field.
- Click Connect to complete the process.
Rewards page
The Beans plugin for WooCommerce automatically adds a rewards page to your shop.
By default, you can access the page at https://myshop.com/rewards-program, assuming
your website’s full URL is https://myshop.com.
To display the rewards program page, Beans uses the shortcode [beans_page].
This makes it very easy to edit the page if necessary.
It is recommended to add the link to your rewards program in the main menu to make it easy for your customers to access.
Here is how to do it: How to Add Navigation Menu in WordPress
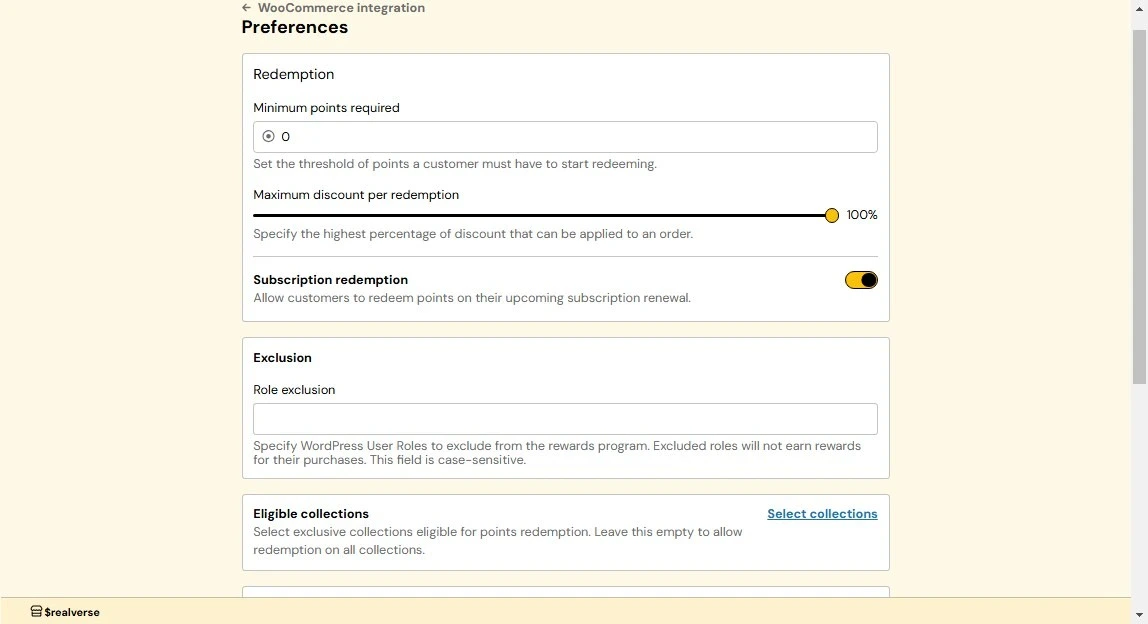
Redemption
Minimum points required for redemption
Sets a minimum points threshold that customers must reach before redeeming rewards. By default,
customers need to accumulate at least 100 points before being eligible for redemption. You can
adjust this threshold higher to ensure meaningful program engagement and prevent inefficient redemptions.
For example, if you set the minimum to 500 points, customers would need to earn at least 500 points before
they can start redeeming rewards.
How it works:
- From the WooCommerce integration dashboard, navigate to Preferences.
- Locate the Redemption section and enter your desired minimum points threshold in the
Minimum Points Required field.
- Click Save to apply changes.
Choose a minimum threshold that balances customer satisfaction with your business goals. Too high may discourage
participation, while too low could reduce program effectiveness.
Maximum discount per redemption
Sets a limit on how much of the total purchase price can be discounted through points.
This ensures that the discounts provided through redemptions remain within acceptable
limits for your business. For example, if a customer wants to buy a product priced at $10 and
has 1000 points (equal to $10), but the maximum discount is set to 50%, they can only use 500
points, giving them a $5 discount.
How it works:
- From the WooCommerce integration dashboard, navigate to Preferences.
- Locate the Redemption section and use the Maximum Discount Per Redemption slider to set
your desired maximum discount percentage.
- Click Save to apply changes.
Setting a reasonable maximum discount percentage helps maintain a balance between rewarding customers and protecting
your profit margins.
Eligible collections
Enable point redemption for specific product collections in your store. Customers can then redeem
points only for products in the selected collections. When no collections are selected, all products
are eligible for redemption.
How it works:
- From the WooCommerce integrations home page, navigate to Preferences.
- Locate the Eligible Collections section and click on Select collections.
- Choose the collections you want to make eligible for point redemption.
- Click Save to confirm.
Auto registration
Automatically enrolls new customers into your rewards program when they create an account
or make a purchase. This ensures seamless participation and maximum program engagement.
How it works:
- From the WooCommerce integration dashboard, navigate to Preferences.
- Locate the Advance section and switch the Auto registration toggle to On.
- Click Save to confirm.
Storefront display
The widget appears as a floating button in the corner of your storefront that displays notifications
to help customers access their rewards program features, including joining the program, redeeming
points, and checking their balance.
How it works:
- From the WooCommerce integration dashboard, navigate to Storefront display.
- Locate and click on Widget.
- In the Widget settings page, toggle “Enable widget” to on.
- Adjust the widget’s position and appearance to match your brand’s style.
- Click Save to apply changes.
Rewards page
The rewards page is a dedicated section on your storefront that displays your rewards program details.
It allows customers to view their points balance, redeem rewards, and learn more about your program.
How it works:
- From the WooCommerce integration dashboard, navigate to Storefront display.
- Locate and click on Rewards page.
- Customize the template and settings as needed.
- Click Save to apply changes.
Customization settings:
- Headline Text: The main title displayed at the top of the rewards page to attract customer attention.
- About Text: A small block of text that explains your rewards program purpose and welcomes customers.
- Help Text: A FAQ-style text that explains your rewards program, including common questions like
“What is this?”, “How does it work?”, “How to redeem points?”, and important terms and conditions.
- Primary Color: The main color used throughout the rewards page to maintain consistent branding with your store’s theme.
- Shop Now Link: A direct link to the shopping page. It will be used as a call-to-action for customers to
start earning points.
- Contrast Color: A color that contrasts with your primary color, typically black or white, to ensure text readability.
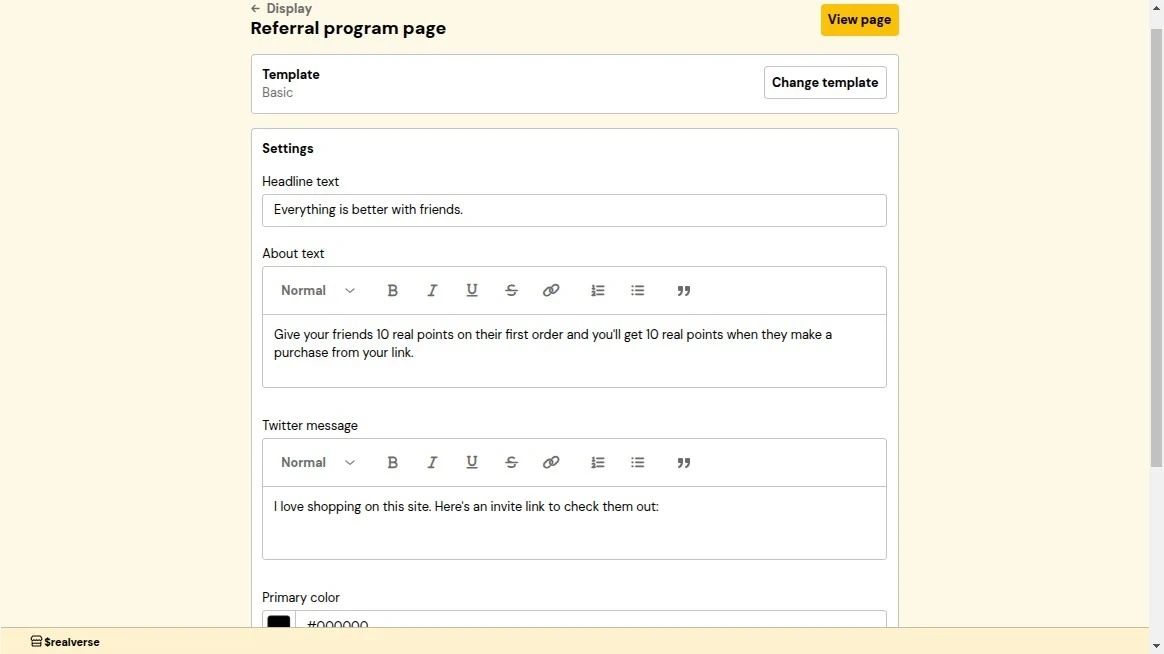
Referral page
The referral page is a dedicated section on your storefront that displays your referral program details.
It allows customers to view and share their referral link with friends.
How it works:
- From the WooCommerce integration dashboard, navigate to Storefront display.
- Locate the Referral page section.
- Customize the template and settings as needed.
- Click Save to apply changes.
Customization settings:
- Headline Text: The main title displayed at the top of the referral page to attract customer attention.
- About Text: A small block of text that explains your referral program purpose and welcomes customers.
- Twitter Message: The default text that appears when customers share their referral link on Twitter.
- Primary Color: The main color used throughout the referral page to maintain consistent branding with your store’s theme.
- Contrast Color: A color that contrasts with your primary color, typically black or white, to ensure text readability.
The redemption button allows customers to redeem their rewards directly from the cart or checkout page.
By default, it is placed near the checkout call-to-action (CTA), allowing customers to apply their
rewards before completing a purchase.
How it works:
- From the WooCommerce integration dashboard, navigate to Storefront display.
- Locate the Redemption Button section.
- Customize the template and settings as needed.
- Click Save to apply changes.
Customization settings:
- Primary Color: The button background color.
- Contrast Color: The button text color. It should contrast with your primary color. It is
recommended to use black or white to ensure text readability.
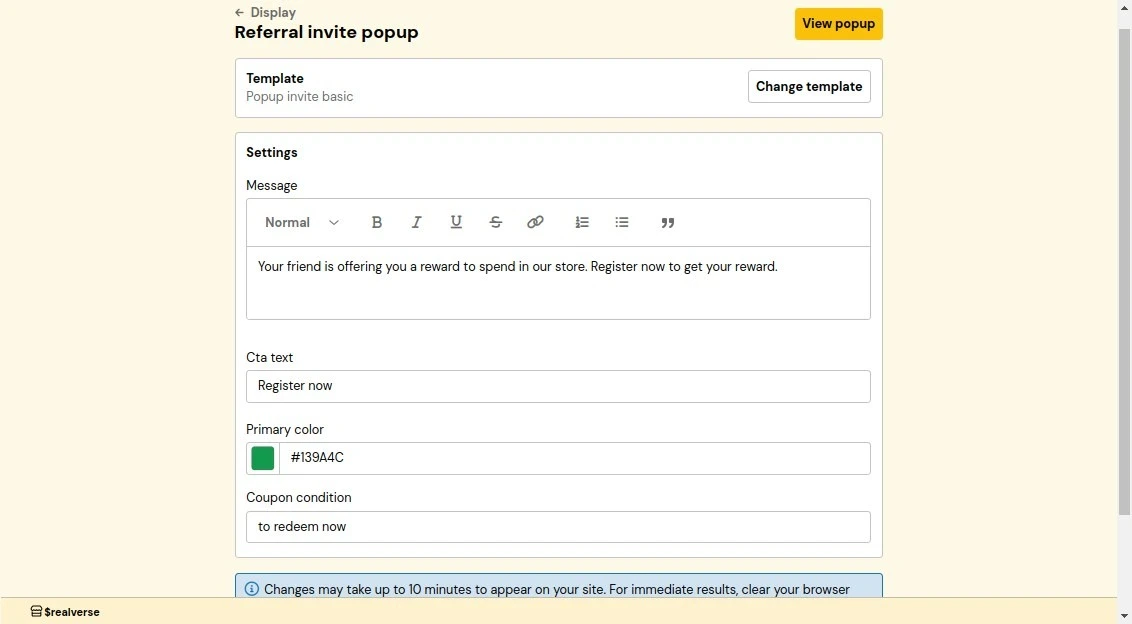
The referral invitation popup appears when someone visits a referral link, encouraging them to
join your rewards program using their unique link.
How it works:
- From the WooCommerce integration dashboard, navigate to Storefront display.
- Locate and click on Referral Invitation Popup.
- Customize the template and settings as needed.
- Click Save to apply changes.
Customization settings:
- Message: A message informing customers that they are being referred and inviting them
to sign up in order to get a reward.
- Call-to-Action Text: The text of the button to encourage customers to sign up.
- Primary Color: The popup’s main color. It should match your brand colors.
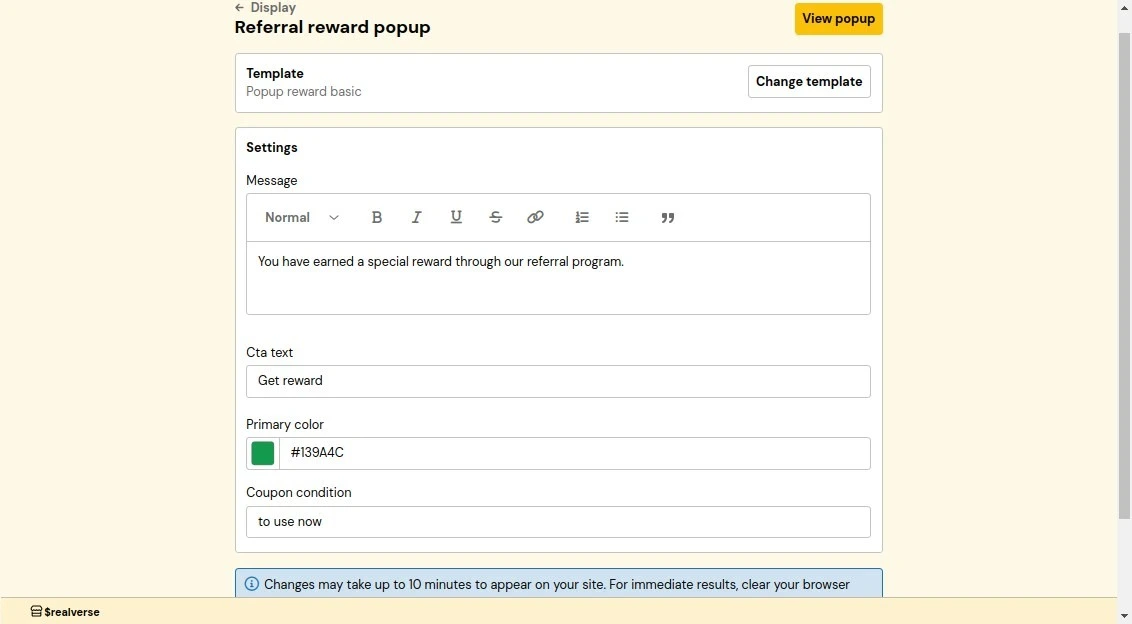
The referral reward popup notifies customers of successful referrals and encourages them to use their
rewards. This confirmation popup helps maintain engagement with your referral program.
How it works:
- From the WooCommerce integration dashboard, navigate to Storefront display.
- Locate the Referral Reward Popup section.
- Customize the template and settings as needed.
- Click Save to apply changes.
Customization settings:
- Message: A confirmation message informing customers that their referral was successful.
- Call-to-Action Text: The text of the button to encourage customers to redeem their reward.
- Primary Color: The popup’s main color. It should match your brand colors.
Reinstall
If you suspect the Beans plugin isn’t properly installed on your WordPress site,
Beans provides a straightforward solution to address this without any negative side effects.
- From the Beans admin dashboard, navigate to the WooCommerce integration home page.
- Select Status in the integration navigation menu.
- From the Actions dropdown on the top right, select Reinstall Beans.
Troubleshooting
Issues with connecting Beans
Beans uses the WooCommerce API to access your store data. Here are the most common reasons why you might experience
issues with connecting Beans to your store.
- Password-protected store: To connect Beans to your store,
you might need to temporarily disable password protection for your store.
- “coming soon” or “site under construction” plugin that restricts public access:
This will block API access, which is essential for our application.
To resolve this, temporarily disable the plugin to allow connection, then reactivate it afterward.
- Incorrect API keys: Please double-check your API keys to ensure they are correct.
- Invalid SSL certificate: Beans use SSL to securely connect to your store.
If your SSL certificate is invalid, you might need to renew it.
- Cache plugin: If you have a cache management plugin that strips the “Authorization” header,
try disabling the plugin to see if it resolves the issue.
- Incorrect permalinks: Ensure that your
WordPress permalinks
are set to a pretty permalink structure. The recommended setting is
/%postname%/.
- Outdated WordPress or WooCommerce version: Update your WordPress and WooCommerce to the latest versions.
- Localhost: If you’re using localhost, you need to install Beans on a live server
or use a localtunnel URL such as ngrok to connect to your store.
- Invalid WordPress site location: WordPress must be installed at the root level of your domain or subdomain.
For example, if you’re developing a store at
www.example.com/dev/, our server will attempt to connect
to www.example.com. To avoid this issue, install the development store on a subdomain like the dev.example.com