Setup
- From the Beans admin, go to Integrations.
- Locate Klaviyo in the list of available integrations.
- Click on the connect button and proceed as directed.
- You will need to enter a Klaviyo API key.
- Create a Klaviyo API Key with Full Access permission.
- Copy and paste the Klaviyo API key into the designated field and click on Connect.
Metrics
A metric indicates a specific type of event that occurred within the Beans app and was subsequently synced to your Klaviyo account. The following events are synced to your Klaviyo account.Beans member created
Beans member created
This event is triggered when a customer joins the loyalty program.
Use this metric to set up a welcome email to customers who join the rewards program.
The welcome email is the perfect opportunity to get shoppers excited about the loyalty program.
Beans points credited
Beans points credited
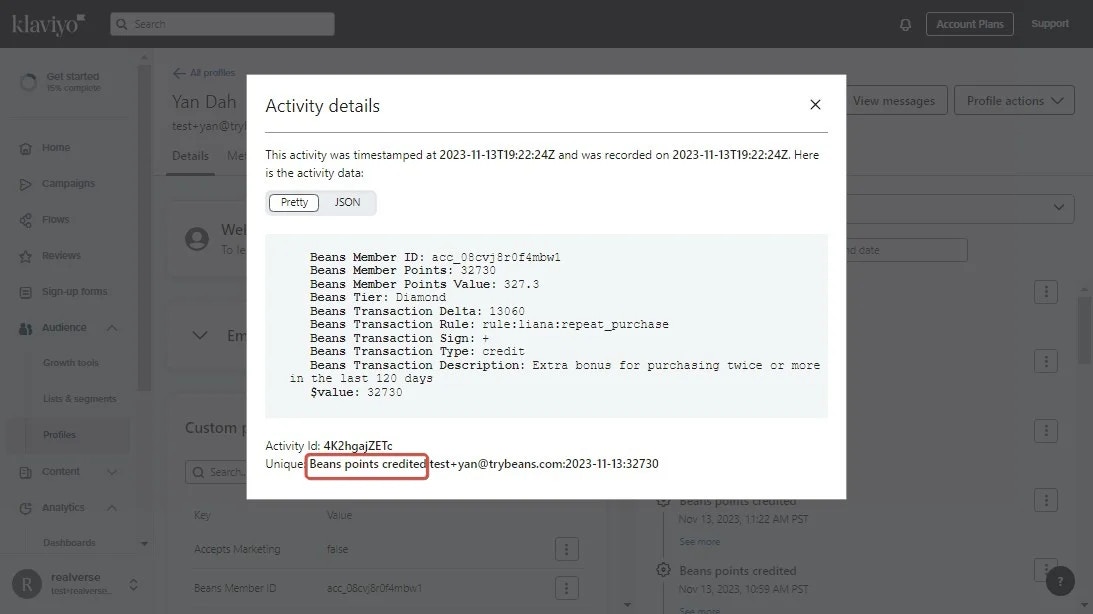
This event is triggered when a customer earns points.
Use this metric to send customers an email notification when they earn points.
Customers appreciate instant gratification. Sending notifications promptly upon point accrual
reinforces their positive behavior and encourages repeat purchases.
Beans points debited
Beans points debited
This event is triggered when a customer spends or loses points.
Informing customers when points are debited provides transparency about how their points are used or deducted.
Beans tier downgraded
Beans tier downgraded
This event is triggered when a customer is moved to a lower tier in the loyalty program.
This event, while potentially sensitive, presents an opportunity to engage with customers
effectively and provide a clear explanation of why the tier downgrade occurred.
Beans tier upgraded
Beans tier upgraded
This event is triggered when a customer is promoted to a higher tier
in the loyalty program. Use this event to clearly communicate the benefits and advantages
that come with the newly attained tier.
Beans friend invited
Beans friend invited
This event activates when a customer initiates a referral by sending an invitation.
Use this event to generate an email notification informing the invitee that
they have been invited to shop at your store, courtesy of the referrer.
This notification serves as a warm introduction to your store and encourages
the invitee to take their first step towards a rewarding shopping experience.
Beans friend rewarded
Beans friend rewarded
This event is triggered when a referred friend successfully earns their reward.
It is pivotal for notifying the new customer about their available reward.
It’s a gesture that celebrates their acceptance of the referral invitation and
encourages their engagement with your offerings.
Balance reminder
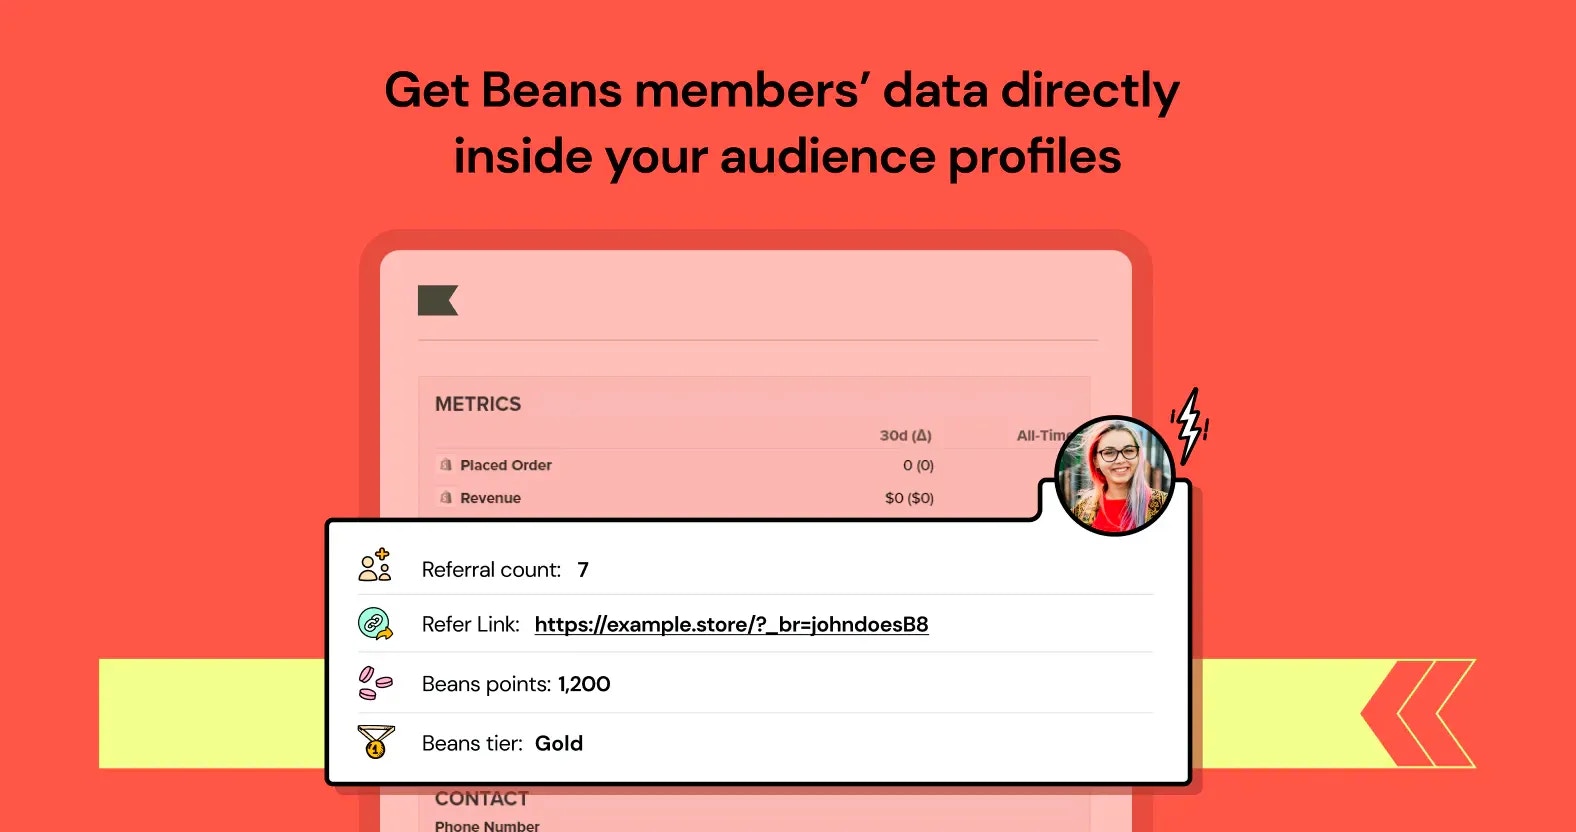
Periodic balance reminder emails are a crucial component of engaging customers with their accumulated loyalty points. These reminders serve as a polite prompt to customers, highlighting that they have unused points available for redemption towards rewards. It’s an effective strategy to encourage repeat purchases and deepen customer engagement with your loyalty program. When integrating Beans with Klaviyo, balance reminder emails are facilitated through the creation of a dedicated campaign in Klaviyo. Beans ensures seamless synchronization of all necessary data, including points balances, to Klaviyo. Below is an extensive overview of the rewards program attributes that are synchronized to Klaviyo, enabling a smooth and efficient reminder process.Event logs
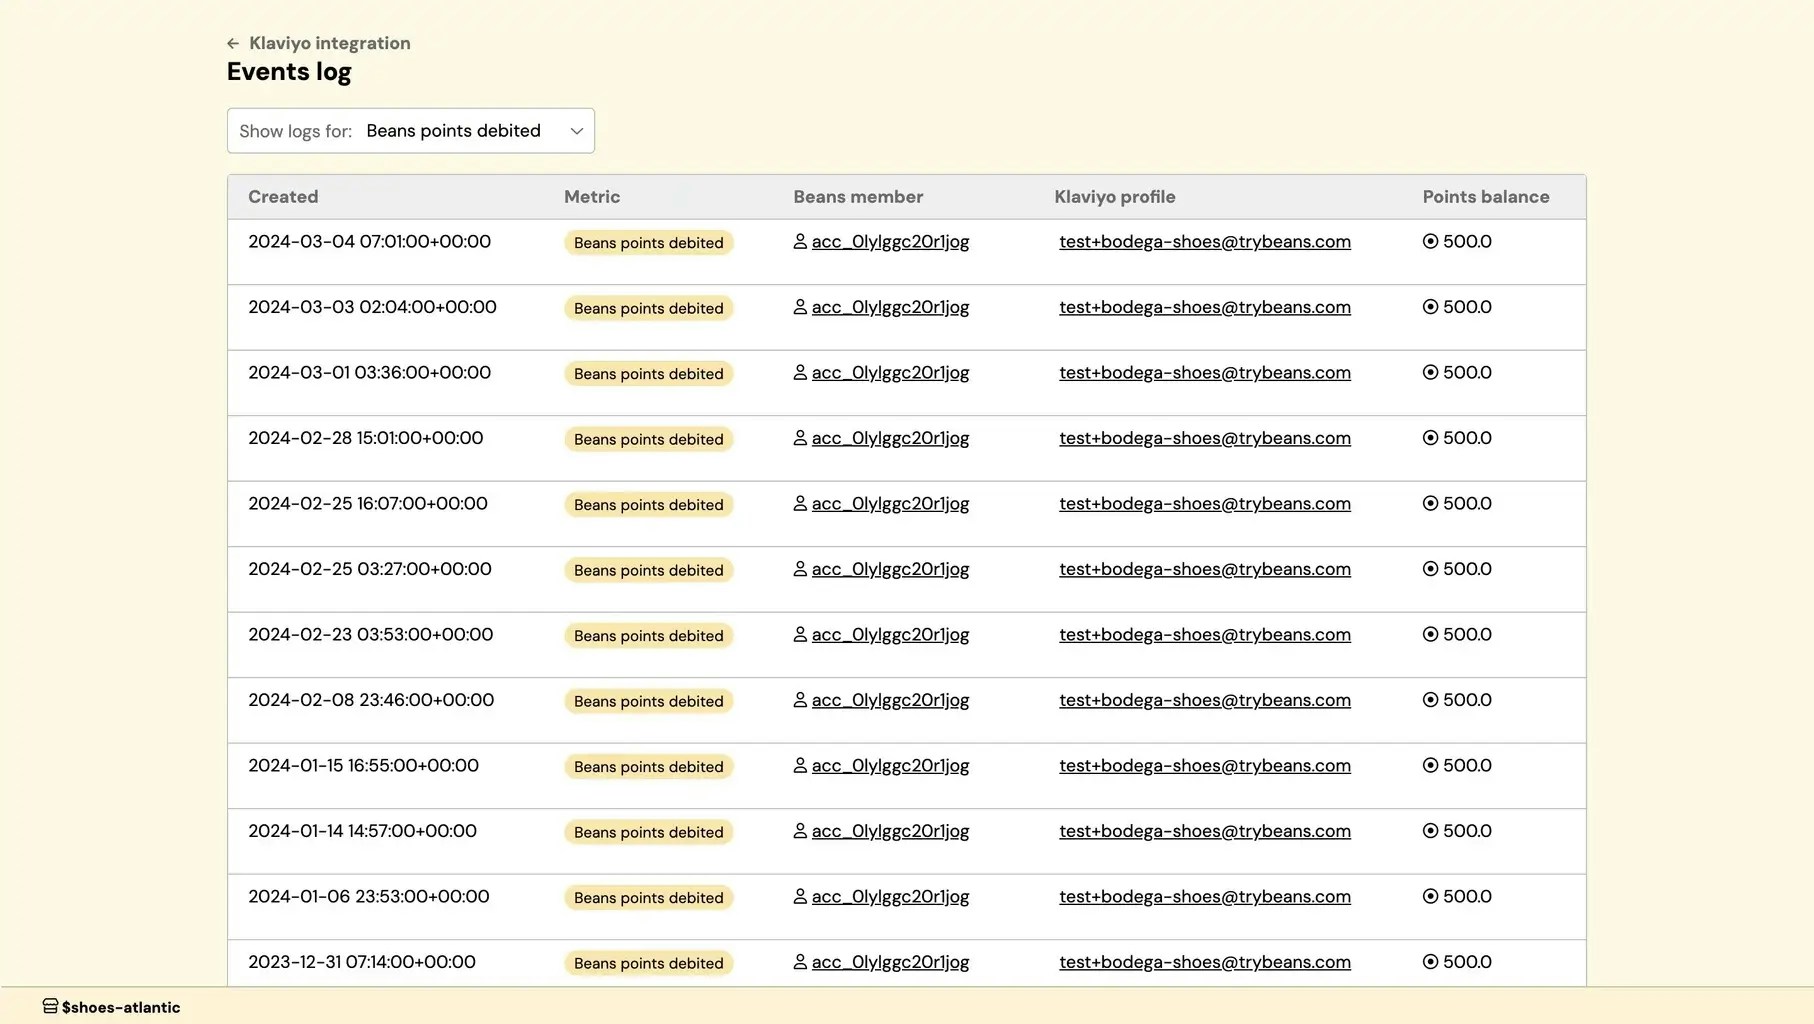
The events log section gives you insights into the synchronization process between Beans and Klaviyo, allowing you to quickly debug synchronization issues. It is an overview of the most recent events that triggered. It is not possible to navigate the logs to see past events. To access the events log page:- Navigate to Klaviyo integration home page
- Click the Events log in the integration navigation menu.


Status
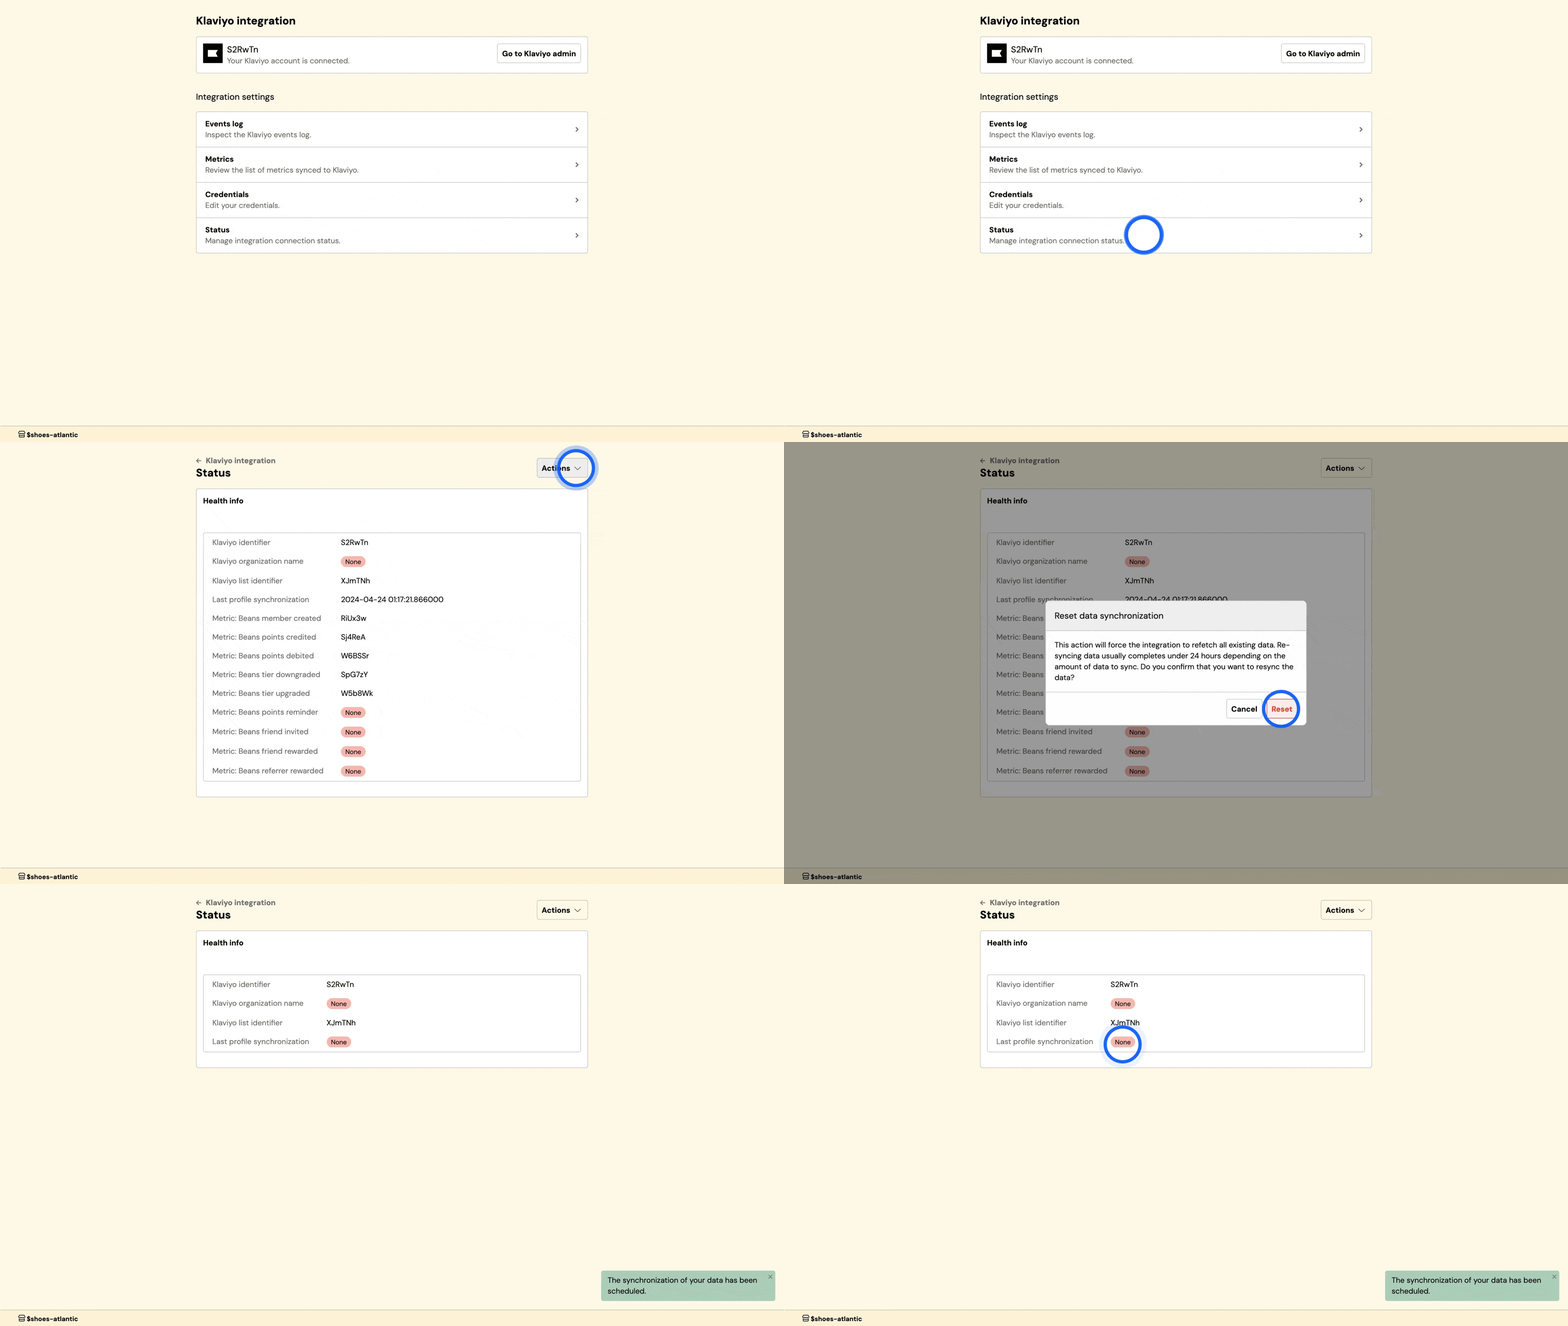
This interface provides control over the status and data synchronization between Beans and Klaviyo, offering options to disconnect the integration, or reset the connection as needed. To access the status page:- Navigate to Klaviyo integration home page
- Click on Status in the integration navigation menu.
Reset synchronization
If you experience issues with data synchronization after reconnecting the integration between Beans and Klaviyo, you can manually reset synchronization. This is useful since the integration only automatically resynchronizes all data every 30 days, which may not suit your immediate needs. To reset data synchronization:- From the Beans admin dashboard, navigate to the Klaviyo integration home page.
- Select Status in the integration navigation menu.
- Use the Actions dropdown at the top right to select Reset synchronization.
